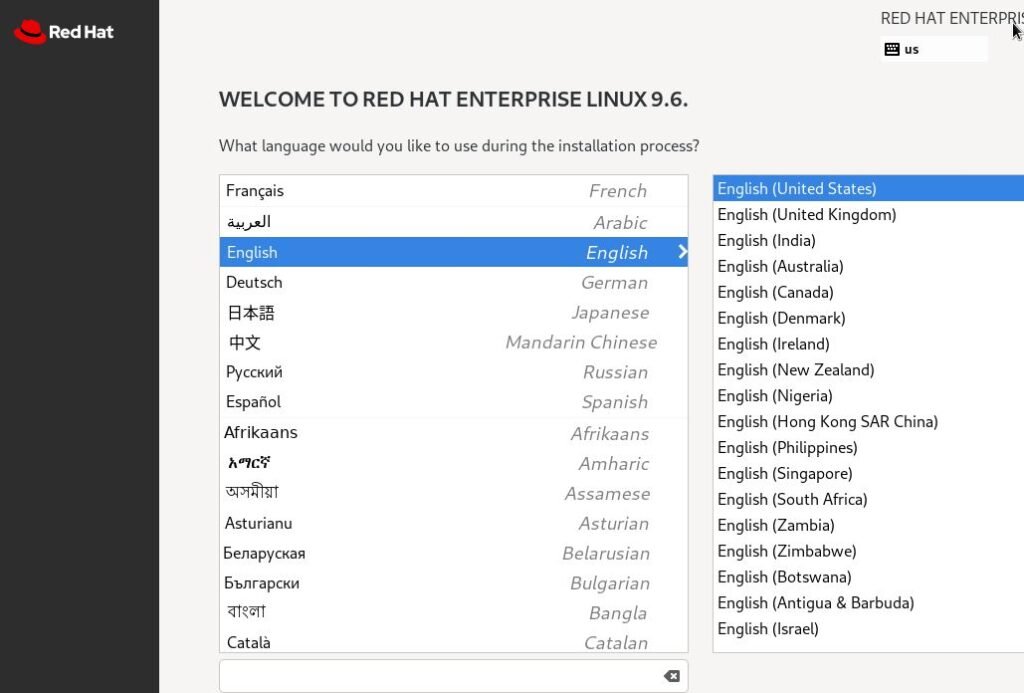
1.2 Configuring Your First Installation

Pro-Tip: *Right CTRL – uncapture your mouse pointer if stuck inside the VirtualBox Application
Pre-Configuration Note: I will give you the basics to apply to your VM to give us a working instance for which to practice. All options and advanced options are possible and available for more advanced users.
Language & Keyboard Layout – Select yours, ours will be English / US
Date & Time
1. Select your Region and City
2. Enable ‘Network Time’ top right, or manually set it at the bottom of the screen
*Advanced – you can manually set your NTP server (default 2.rhel.pool.ntp.org) in the settings option.
Root – Privileged user
1. Set secure password
Tip – *Do not enable SSH login
Create User
1. Enter a Name
2. Allow default or set manual username
3. Enable ‘Make this user administrator’
4. Set password (ensure it matches)
If unsecure, click ‘done’ twice to confirm
Software Selection
1. Select ‘Server with GUI’
Installation Destination
1. Keep default and automatic partitioning
*Default File System type is XFS
Network & Host Name
1. Enable Interface Connection
2. Hostname – set host1.example.com
This is the Fully Qualified Domain Name (FQDN), which includes the hostname + domain name
Select ‘Install’ to begin
Reboot System
Login
Tour or No Tour
“System Not Registered” – DO NOT REGISTER
Exit this prompt
You have now succeeded to not only install, but configure your first working RHEL 9.6 instance. This is the foundation for all of the work and activities you will need to advance your career in Linux Administration!


Leave a Reply